


This is the second article of 2 about setting up a Google Cloud Platform (GCP) account (the first article) and getting it ready for use both with GCP's CLI and Pulumi infrastructure as code framework (this article).
After the GCP full configuration, we can start to configure the other 2 ways of interacting with GCP resources without using the GUI console.
If you're interested, here's the companion video for this article:
Introducing Pulumi
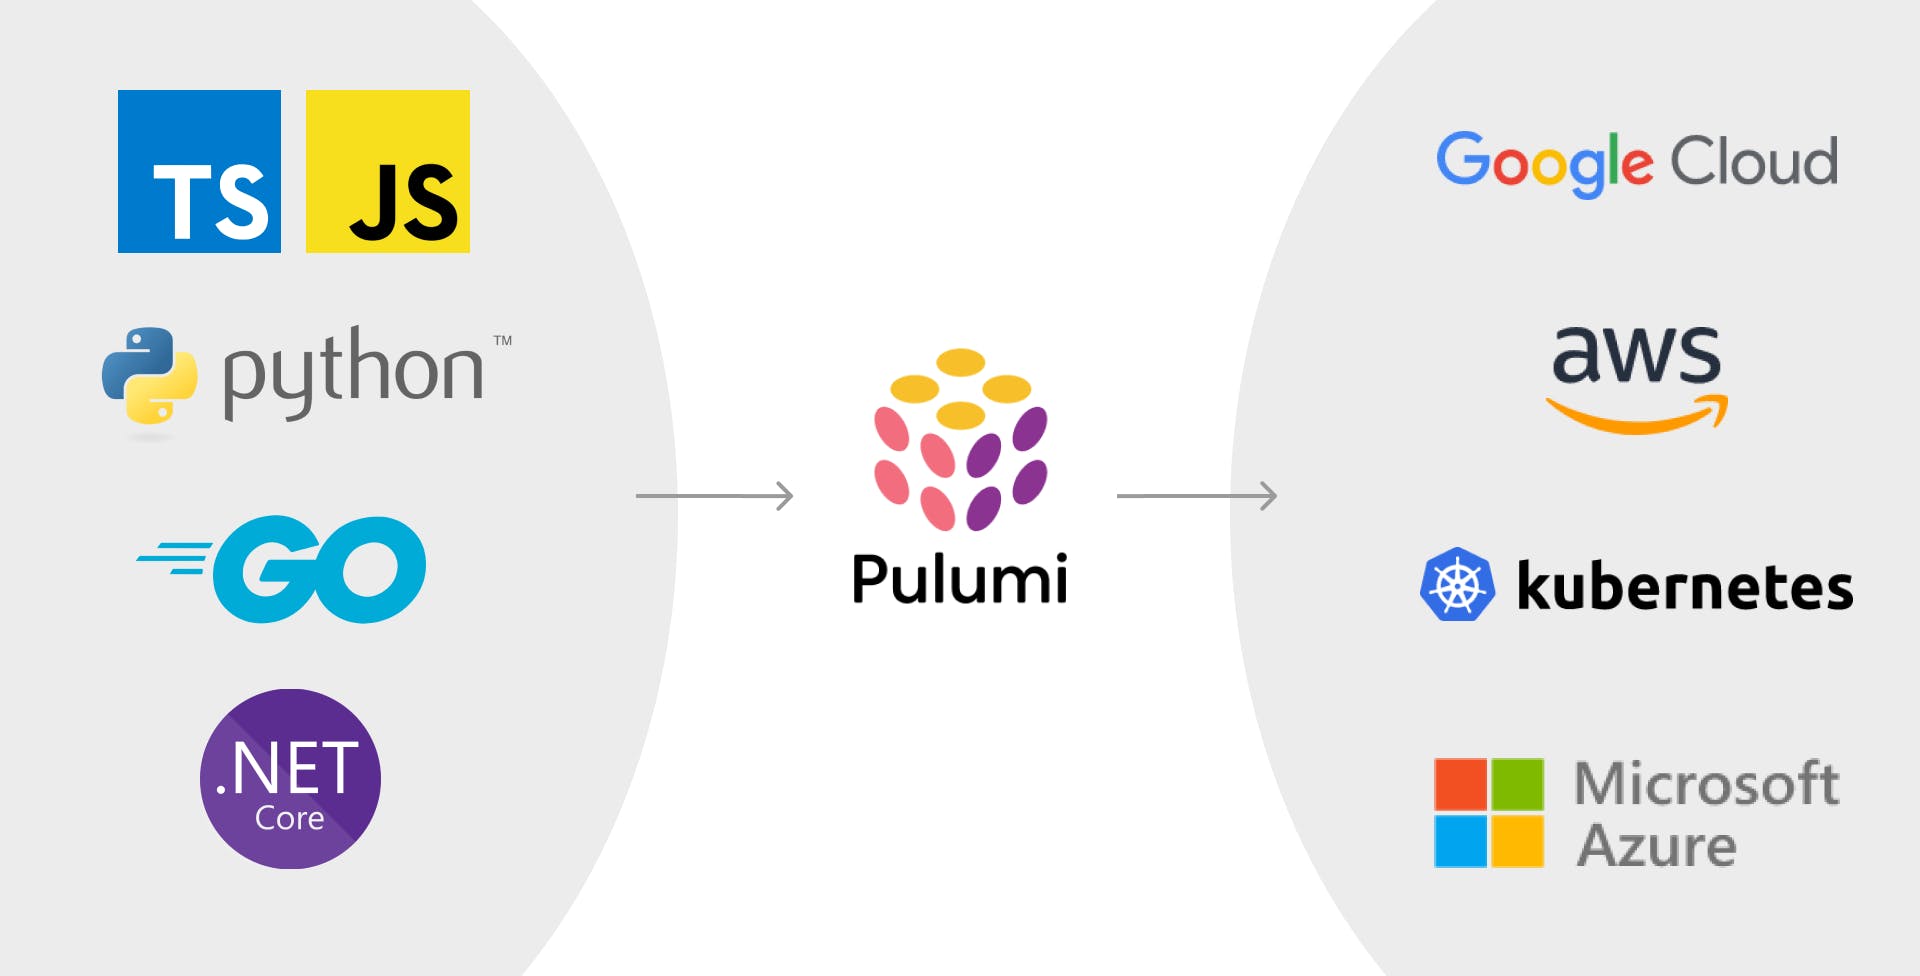
Pulumi is a growing Infrastructure-as-code framework that allows you to deploy cloud resources of any kind (both serverless or not) to a lot of cloud providers (including AWS, GCP, Digital Ocean, Azure, etc.) and, most importantly, by using your preferred programming language (it currently supports Typescript, Golang, Python and .NET).
So you can configure your application deployment as it was a part of your application, so it is portable, easy to maintain (e.g. using version control along with your core application code) and very predictable.
If you're new to Pulumi, I hope this article can help you to give it a try.
Installing Pulumi
Visit pulumi.com, click on the "Get started" button and, in the left column of the page, under "getting started", click on Google Cloud. You will get to an onboarding guide that brings you to deploy a first simple static site project.
For now, though, we're just interested in installing Pulumi. So click on "Before you begin". In the following page you will get all the instructions to install:
- Pulumi, using your OS's package manager (namely Homebrew for Mac OS and Chocolatey for Windows) or a simple
curlcommand for Linux - the runtime for your language of choice, such as nodeJs if you're going to use Typescript or Javascript
Installing and configuring the Google Cloud SDK
As suggested in the current page, if you develop locally (and I guess you will), you should also install the GCP SDK, which on turn includes its CLI tools, which will be useful from time to time to check the status of your cloud resources and to configure the GCP account and GCP project Pulumi should use by default (i.e. when they're not explicitly configured in your Pulumi application).
So visit the link to the GCP SDK installation and again follow the instructions for your OS. You can safely skip the optional dependencies for now.
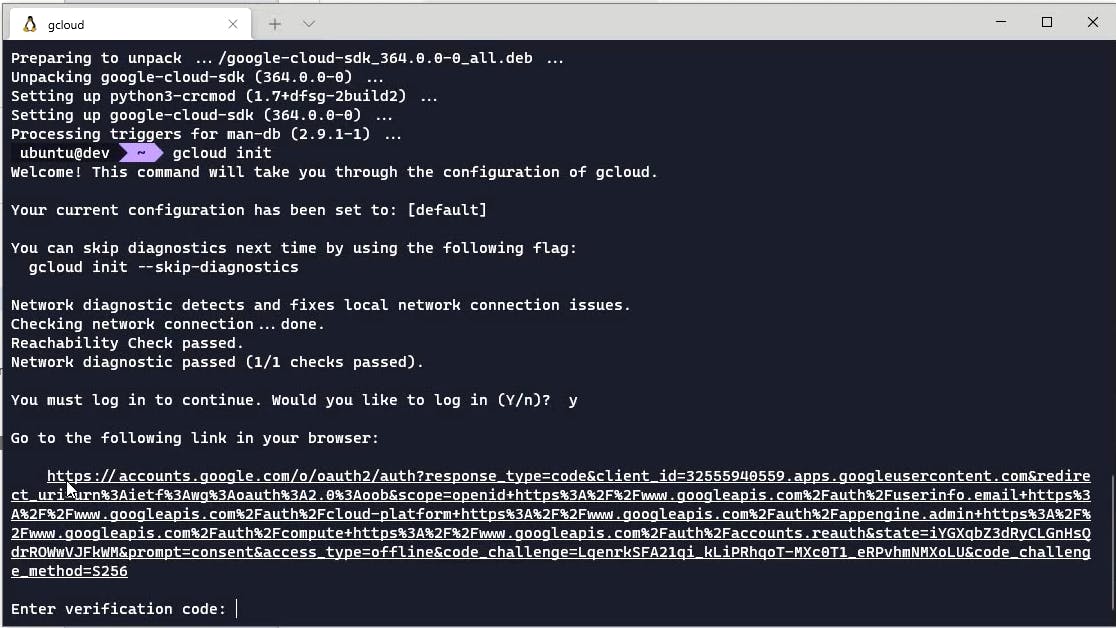
At the end of this process, you will initialize the SDK with a gcloud init command. After typing this command, you will be asked to login by visiting a certain URL where you need to sign in using the GCP account you want to use (I suggest using the second non-root administrative account we created at the end of the previous article). You will then see a verification code that you need to copy and paste back in the terminal window.
After logging in, you will be presented with a list of active projects in your Organization's account and you can select the default project to use with the CLI: for now you can just use the single default project that GCP has created for you.
Now a GCP config file has been saved automatically: in Ubuntu you can find it as .config/gcloud/configurations/config_default folder inside your user's home directory. In the parent directory you also have a file called active_config where you can check that the only existing configuration, the default one, is the one that's currently active. This means that every command you run with GCP CLI will use this account/project target unless you specify a different target.
You can always change the current active project by issuing the following command:
gcloud config set project <YOUR_GCP_PROJECT_ID>
Next we need to configure the default GCP credentials that applications (like Pulumi) will need to use to access our GCP account. To do this, we need to type the following command and authenticate again to setup default application credentials:
gcloud auth application-default login
You will need to repeat basically the login step using your GCP account of choice.
You might receive an error like this:
Cannot add the project <YOUR PROJECT ID> to ADC as the quota project because the account in ADC does not have the "serviceusage.services.use" permission on this project. You might receive a "quota_exceeded" or "API not enabled" error. Run $ gcloud auth application-default set-quota-project to add a quota project.
This is because it is trying to set a default project for billing purposes but your user account still doesn't have rights to set this aspect for your organization.
To solve this, visit your GCP console and the IAM section under IAM & Admin. Then select your organization at the top of the page (and not a specific project). Edit the permissions for your user, scroll to the bottom of the permissions list and add a new one called Service Usage Admin. Click on Save to confirm. If you now repeat the last login step it should say that the "Quota project" has been added.
Creating a Pulumi project
We can now create our first Pulumi project: this will allow us to test our integration with GCP, by deploying and then destroying real cloud resources (in this case a simple Google Cloud Storage bucket).
Even if in this article we will stop at deploying sample resources, we are preparing a full course on deploying an application (a blog powered by Strapi) to Google Cloud Platform using Pulumi. If you're interested and want to be notified about this, join our newsletter by filling the form in our homepage.
First of all, create a new directory for our new project: in my case, as my final target is to deploy a Strapi application, I will call this strapi-pulumi-gcp. Then create another child directory inside of it called pulumi: this will contain all the code related to pulumi deployment, while outside of it you might have another folder dedicated to actual application code (e.g. strapi-app).
Now, cd into the pulumi subfolder and type pulumi new. As it is your first command using pulumi CLI, it will ask you to login. Hit ENTER to login via browser.
You will be redirected to the Pulumi web application: this free application provided by Pulumi will act as a central point of management for all your Pulumi projects and deployments. So sign up using either your Github account or any other available method.
Once you're logged in, you will be presented with a token string that you need to copy and paste back into the terminal: now you're logged in with the Pulumi CLI.
As we were trying to create a new Pulumi project, you will now be presented with a list of Pulumi templates: there is basically one template for each cloud platform - programming language combination. For the sake of this tutorial, you can select gcp-typescript.
It will now ask you for some information about your project:
- a project name: in my case I insert
strapi-pulumi-gcp - a project description, such as
Deployment of Strapi to GCP using Pulumi
Next, you should insert the name of the stack: but what is a stack in Pulumi? Well, for each project, you can have multiple independent stacks, such as a development stack, a testing/staging stack and a production stack. In our case for the sake of simplicity, we just type prod to directly setup a production stack. In our full course you will learn how to effectively manage different stacks in a single project.
Then it asks for gcp:project, that is the GCP project ID (please note: not the name but the ID). We may use the default GCP project that was created for us, but we'd better create a dedicated project for each application. So let's head over to your GCP console, click in the list of the projects in the top bar and then on "New project". Insert the name of the GCP project (in my case Strapi Blog) and, if you want, edit the default project ID that GCP generates. Take note of this project ID and click on Create.
Get back to the console and paste the GCP project ID: once you hit Enter Pulumi will install all its dependencies.
Anatomy of a Pulumi project
Once it's finished, open the package.json file and you will see that 2 core dependencies were installed:
- the core Pulumi package
(@pulumi/pulumi) - the GCP specific package (
@pulumi/gcp)
We also have a couple of yaml configuration files:
Pulumi.yamlis a project config file, containing the name and description of the project and the runtime we set when we chose the starter template (nodejs)Pulumi.prod.yamlis a stack-specific configuration file that for now includes our gcp:project field we configured previously via the CLI
This stack config file can be populated with configuration values, such as a database password and these values can be accessed in your Pulumi deployment code to perform its operations.
We also have an index.ts file which contains the following code to deploy a simple Google Cloud Storage bucket, that we will use shortly for our first test deployment:
import * as pulumi from '@pulumi/pulumi'
import * as gcp from '@pulumi/gcp'

// Create a GCP resource (Storage Bucket)
const bucket = new gcp.storage.Bucket('my-bucket')

// Export the DNS name of the bucket
export const bucketName = bucket.url
As you can see, it just imports the 2 Pulumi packages, then creates a new instance of the gcp.storage.Bucket class, passing the name of the resource it's creating and saving a reference to a const variable. Finally it exports the URL of the bucket.
As Pulumi takes a declarative approach to resource deployment, just creating the Bucket instance tells Pulumi that the desired state you expect for your stack is of having such a Bucket, so when we launch the deployment command Pulumi will compare this statement with the current status of your cloud resources and, because such a resource doesn't exist yet, it will create it for you. Always take in mind that for each deployment request Pulumi compares the stuff you create in code with what's already in place and creates/destroys resources as needed to finally reach the state described in your code.
The export statement at the end of the file doesn't do anything in our cloud environment, it's just needed to export a certain value that you will be able to read as an output of your stack deployment in the CLI. In this case we assume we are interested in having the URL of the Bucket as an output because we want to visit it in our browser.
First Pulumi deployment to GCP
Let's now deploy our stack, by typing pulumi up. It will run the check described above, firstly in preview mode: this means it first tells you what it is going to do to reach your desired stack state without actually performing the update, until you explicitly confirm. This is really important, especially when working against a production stack, so you can be sure to always have to give manual confirmation to resources updates. In our case, the preview tells us it wants to:
- create the prod stack in our Pulumi project, as it doesn't exist
- create a new GCP Bucket in that stack, as it doesn't exist
When you type yes it will create these 2 resources and give back a bucketName URL as an output of the deployment. If you now decided to run this command again, it would tell you that the stack is already up to date and no additional operation needs to be performed. Once again, that's because the state described in your code and the one it sees in your GCP project are already matching.
You can read more here about customizing the pulumi up command: for example you can pass the -y option to automatically confirm the deployment after the preview or -f to skip the preview altogether (be careful when using these options!).
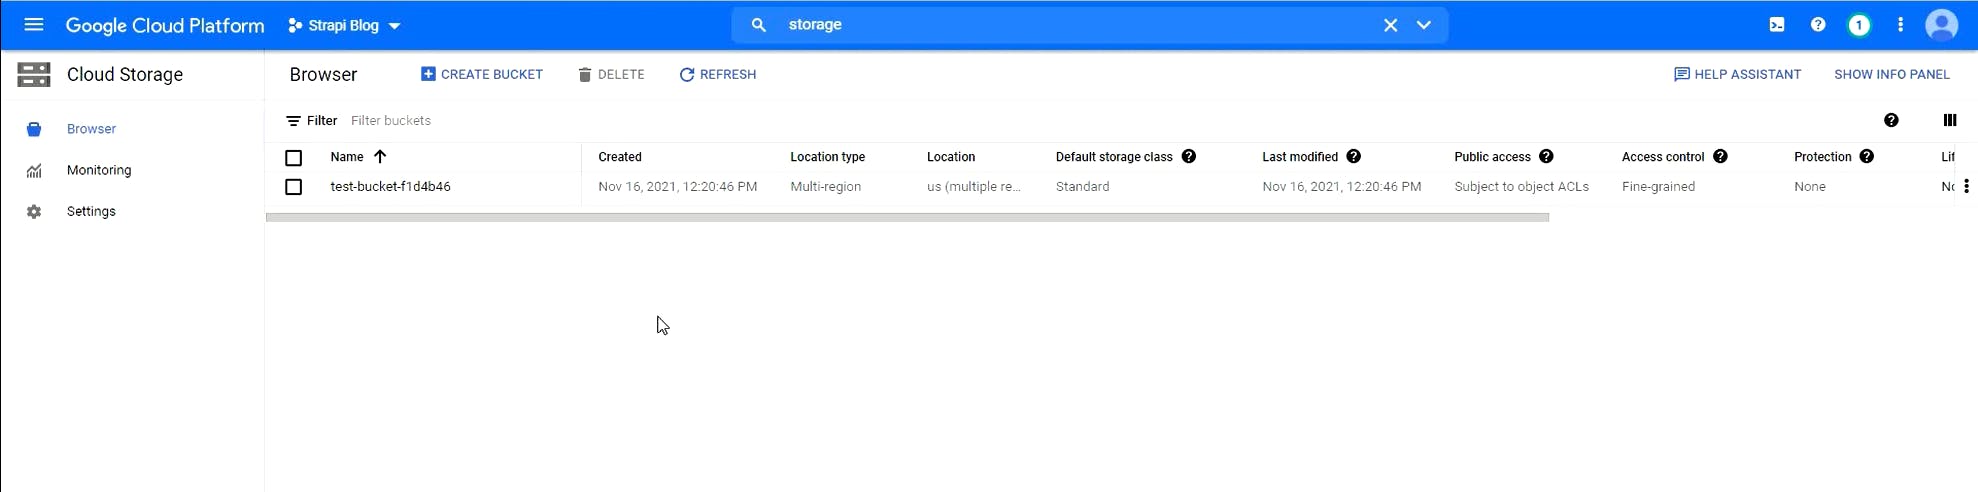
Just for confirmation, if you now visit your GCP console and search for "storage" in the search bar at the top, you can click on Cloud Storage (make sure you have your Strapi Blog project selected). You will see that the bucket we've just created is up and running.
I also want you to perform the same check using the CLI. If you search on Google what you want to perform (in this case list all Cloud Storage buckets) you will always find the relevant GCP documentation. In this case the command is gsutil ls. If you type it in your command line you might get an error about missing privileges for your account. This is expected as the default project the GCP CLI uses is not the one we've deployed resources to; instead, it is the first default project that GCP created for us. And our current user is not the owner of that project (the root user of your account is). We might give the current user the ownership on that project, but we're not interested in working with it, so we'd better set our current Strapi Blog project as the default CLI project, by running:
gcloud config set project <YOUR-PROJECT-ID>
If you now run the gsutil ls command again, you will see the list of the existing buckets in the project (just one). You are now authorized to get this info, as your current GCP user is the owner of the project (as he's created it). Any future CLI command will run by default against this project, unless you either change the default project again or pass a different project as an option to the single command.
Now that we're done with our tests, let's destroy our resource by typing the pulumi destroy command. This destroys both the bucket and the stack, as you can verify again via the GCP console and/or CLI. If you wanted to just destroy the bucket, and not the entire stack, you should have just removed (or commented out) the code that creates that resource.
Pulumi project configuration
I want to spend a few more words about Pulumi stack configuration. As many of GCP resource are regional, when you create new ones either via CLI or Pulumi they get deployed to a default GCP region and zone. We don't want this: instead we want to chose our own default region and zone and set it up in the GCP CLI as we've done for the default project. And we also want to learn how to configure GCP region and zone for a specific Pulumi project.
First of all you should check here which is the closest region to you and a zone in that region. In my case, as we are based in Italy, I have chosen europe-central2 as the region and europe-central2-b as the zone.
To set this for our specific Pulumi project we can type:
pulumi config set gcp:region europe-central2
It's important to analyze the syntax:
gcpis the domain of the configurationregionis the name of this configurationeurope-central2is the value of the configuration
In this case this config regards gcp and so that's the domain we're indicating; usually, when you configure a certain parameter specific to your application, such as a database password, you will omit the domain and the column and just indicate the name of the parameter, followed by its value: in this case Pulumi automatically inserts your project name as the domain.
Now let's also configure the project zone:
pulumi config set gcp:zone europe-central2-b
If you check your pulumi.prod.yml file you should now see that it's been populated with the 2 new configurations you've just set:
config:
  gcp:project: strapi-blog-2021
  gcp:region: europe-central2
  gcp:zone: europe-central2-b
Finally we also want to set these as the default regions and zones for the GCP CLI; these are the 2 commands you need to run:
gcloud config set compute/region europe-central2
gcloud config set compute/zone europe-central2-b
Because you are interacting with the Compute GCP API, the CLI will ask you to enable this API to perform this update: just type y when prompted to confirm this.
If you follow our upcoming course on Pulumi and GCP you will learn how all GCP service APIs you need must be enabled for each project, but fortunately this can be easily done via Pulumi itself.
Installing the Google Cloud IDE extension (optional)
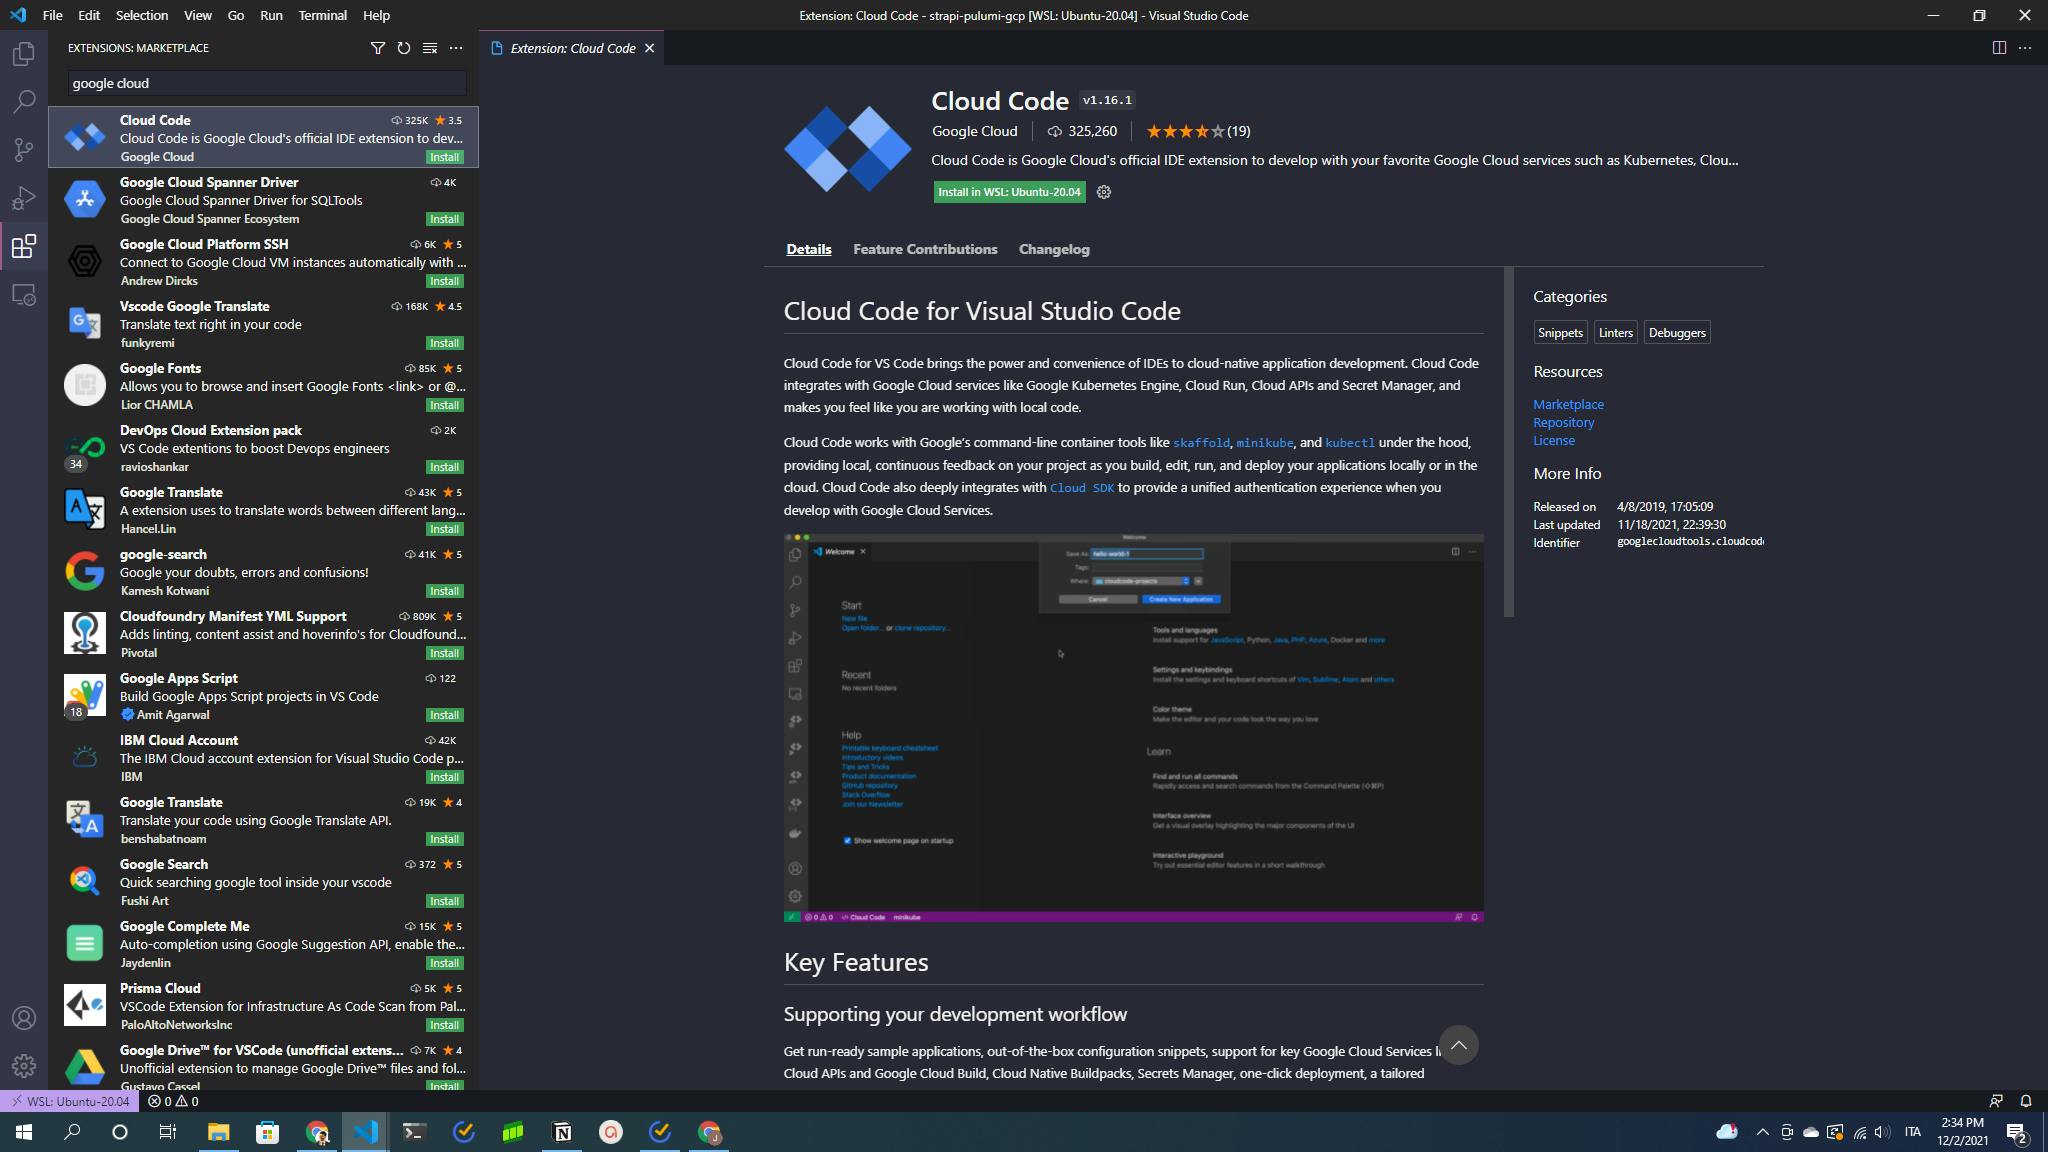
As a final advice, if you use VsCode, I suggest you install the official Google Cloud extension, that will integrate some really useful functionalities, such as local resource emulators and log viewers directly in your IDE.
Clearly once installed the extension will require you to login using your GCP account.
Conclusion and stay tuned
That's it for this final article of the series on fully setting up a devOps environment for developing with Google Cloud Platform and Pulumi.
If you're interested in these and other technologies we talk about, make sure to:
- subscribe to our newsletter (go to our home page for that): you will get updates and promo codes on our upcoming course on Pulumi and GCP
- subscribe to our YouTube channel (link in the footer) and check out the videos related to this post
- follow us on Twitter (also this link is in the footer)
Happy coding!